Get Started with Google Analytics 4: A Guide for Nonprofits
May 17, 2023
Google Analytics 4 is replacing Universal Analytics. This article will guide you through easy steps to start the migration.
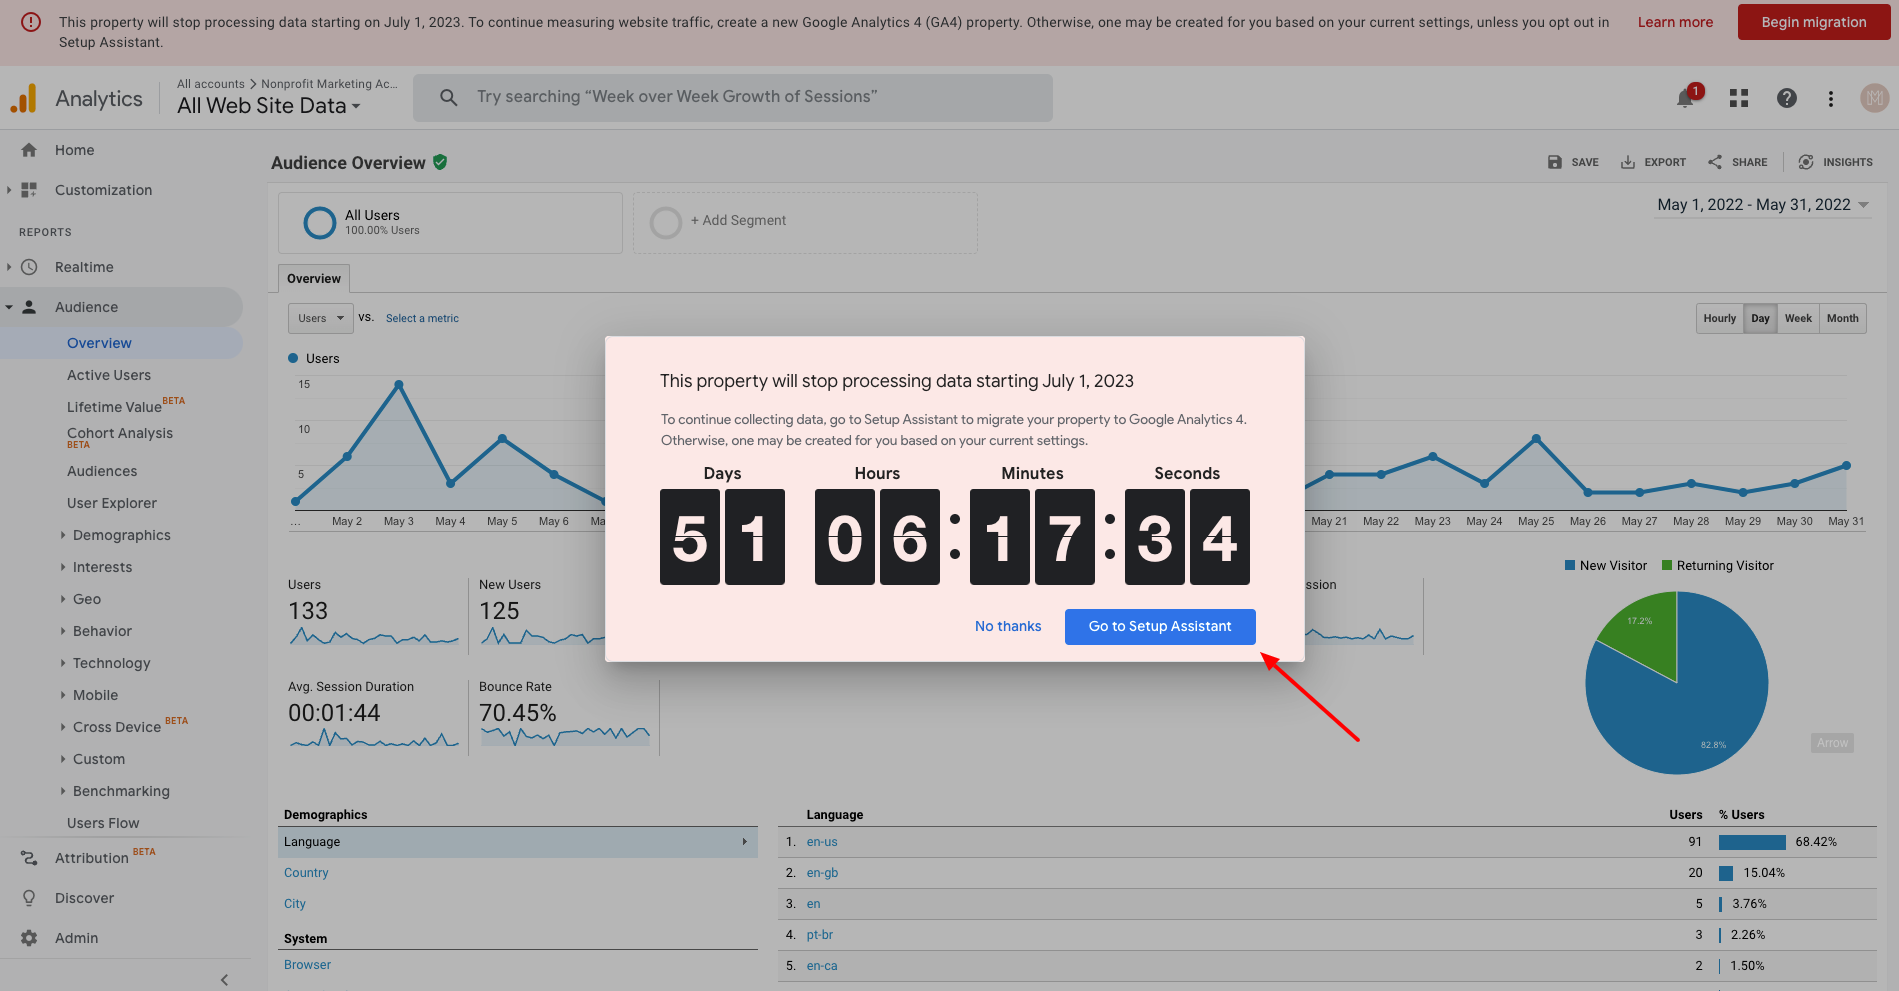
Google Analytics 4 (GA4) is the latest version of Google's web analytics platform. On July 1, 2023, standard Universal Analytics properties will stop processing new data. After July, you can still access older data from your original property. Follow our step-by-step guide to make the switch to Google Analytics 4.
Step 1: Create a Google Analytics 4 Property
To begin, you need to create a new property in GA4. Log in to your Google Analytics account. Universal Analytics offers a pop-up window with a GA4 Property Setup Assistant to help you get started. If this won't show up, click the "Admin" option in the bottom left corner. From there, click the "Create Property" button and follow the prompts to set up your new GA4 property.
Step 2: Choose the correct option with Google Tagging
In the Create a New Google Analytics 4 Property window, you'll have one of the following options to choose from, depending on how your site is currently tagged:
- Create a new Google Analytics 4 Property and continue.
- If you have one, connect to an existing Google Analytics 4 Property, and continue.

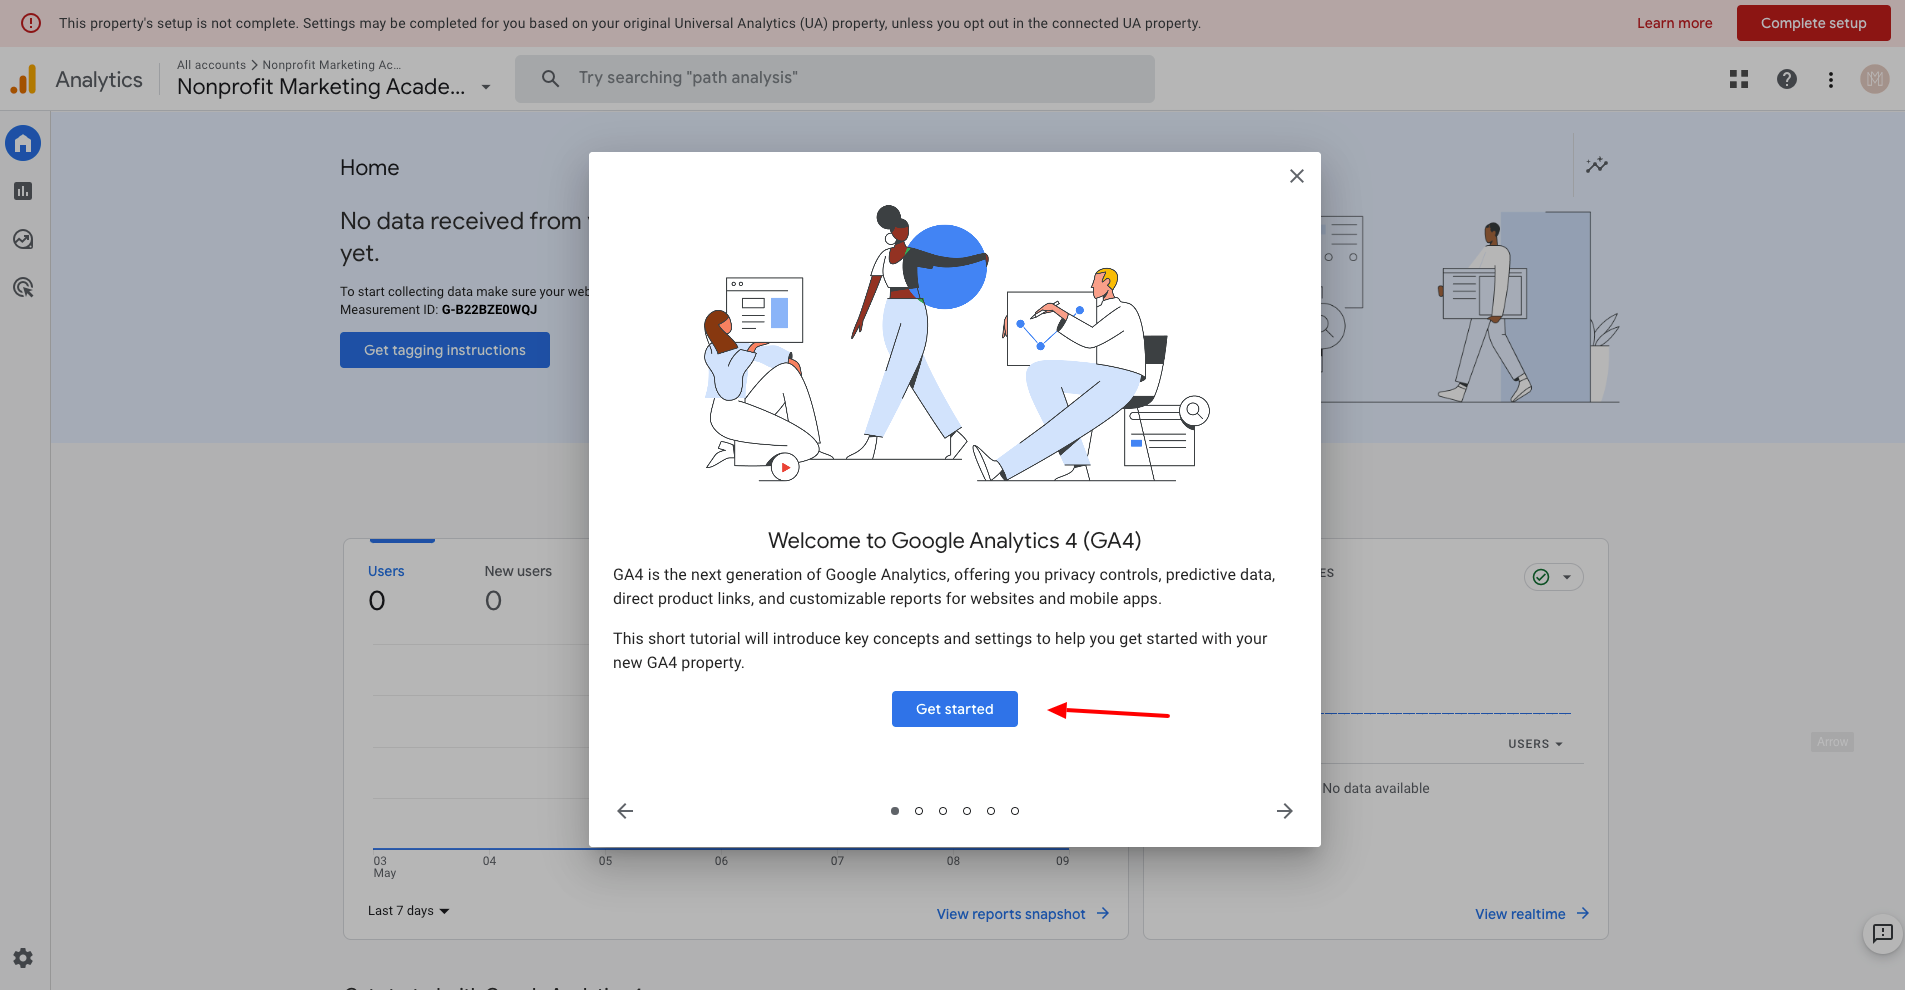
Step 3: Familiarize Yourself with the GA4 Interface
After creating a Google Analytics 4 Property, you'll see "You have successfully connected your properties" at the top of your Google Analytics 4 Property Setup Assistant page. Make a note of your GA4 property's name so you can find it later if you need quick access to them.
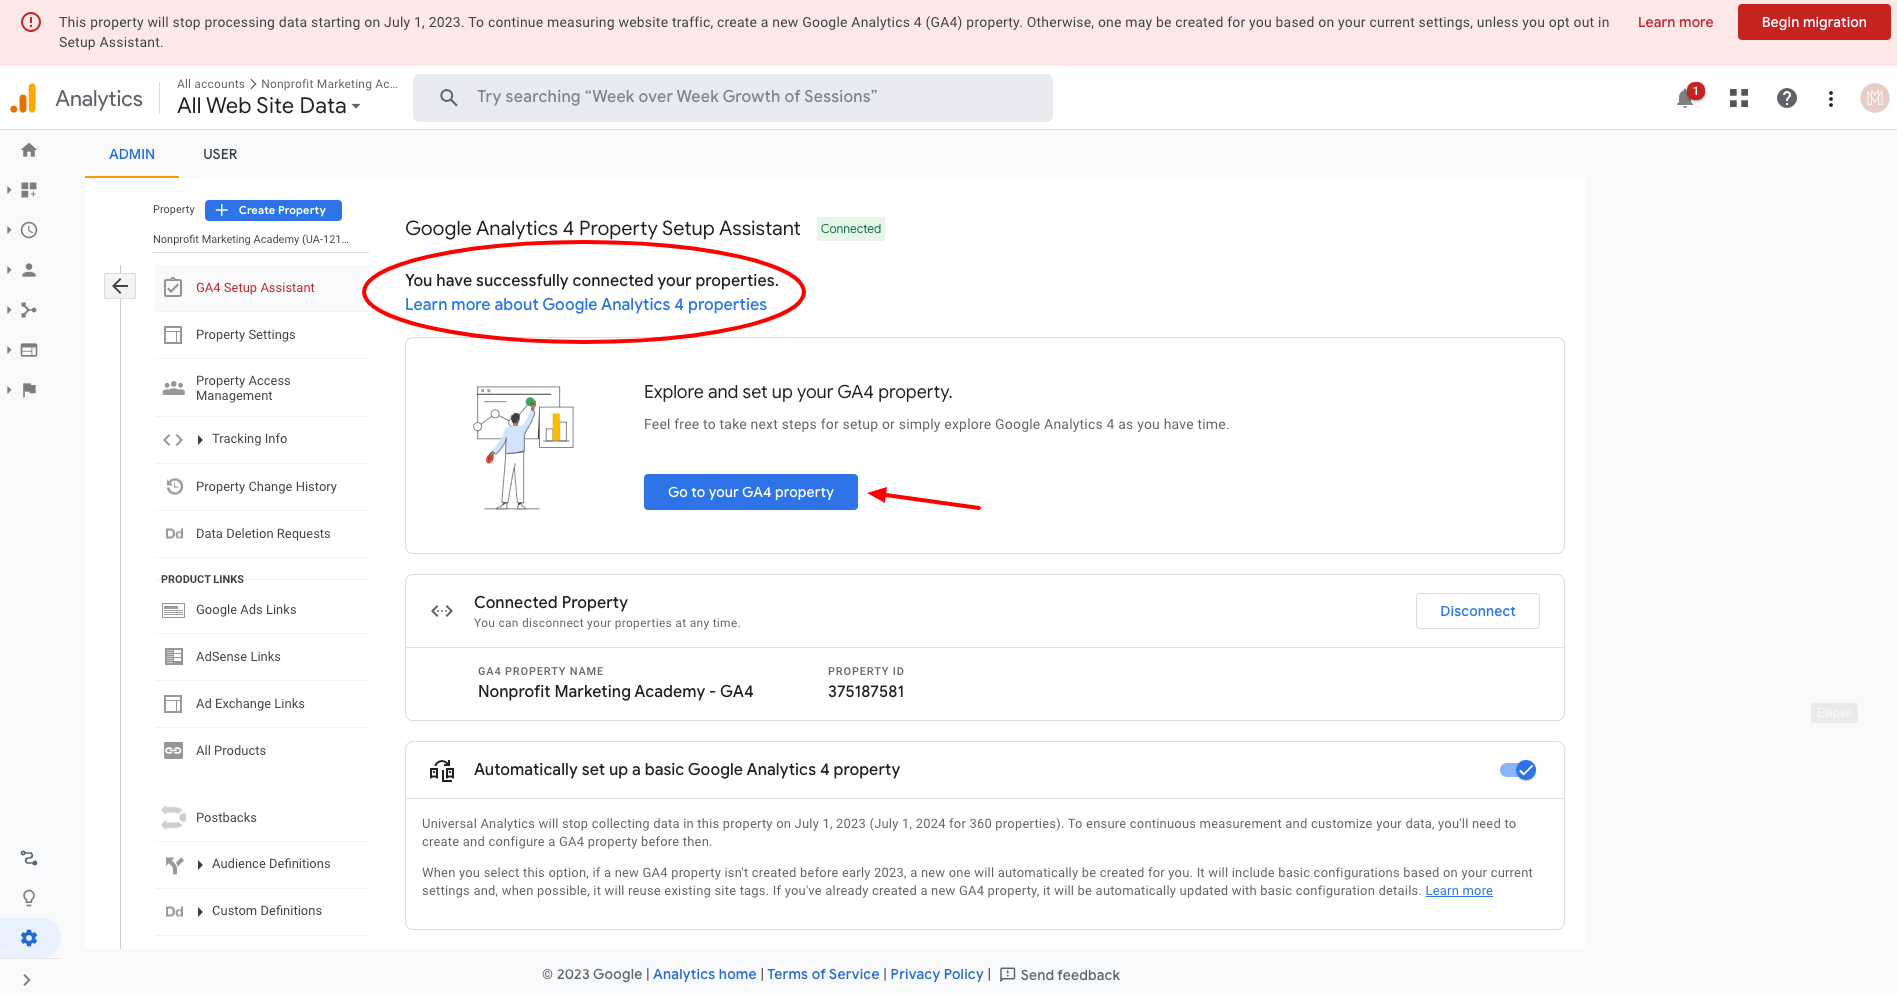
Go to your GA4 property to open Setup Assistant in your new GA4 property. Setup Assistant in Google Analytics 4 properties helps guide you through the next steps to set up Google Tag, explore the Google Analytics 4 interface, and learn to navigate the various reports, features, and settings available.
Step 4: Set Up Google Tag
Follow the instructions to setting up your Google Tag on your website code and activate Google signals.

When you choose to activate Google signals, Google Analytics will associate the visitation information it collects from your site and/or apps with Google information from accounts of signed-in users who have consented to this association for the purpose of ad personalization. By enabling these features, you acknowledge you adhere to the Google Advertising Features Policy, including rules around sensitive categories.

Step 5: Set Up Events and Key Metrics
Once you have installed Google Tag on your website, you can start tracking events to gain valuable insights. Examples of events include page views, button clicks, form submissions, and more. You can mark your most important events as conversions in GA4 (similar to goals in your original property) and export them to Google Ads for bidding.
To define these events within the GA4 interface, go to the "Events" section.
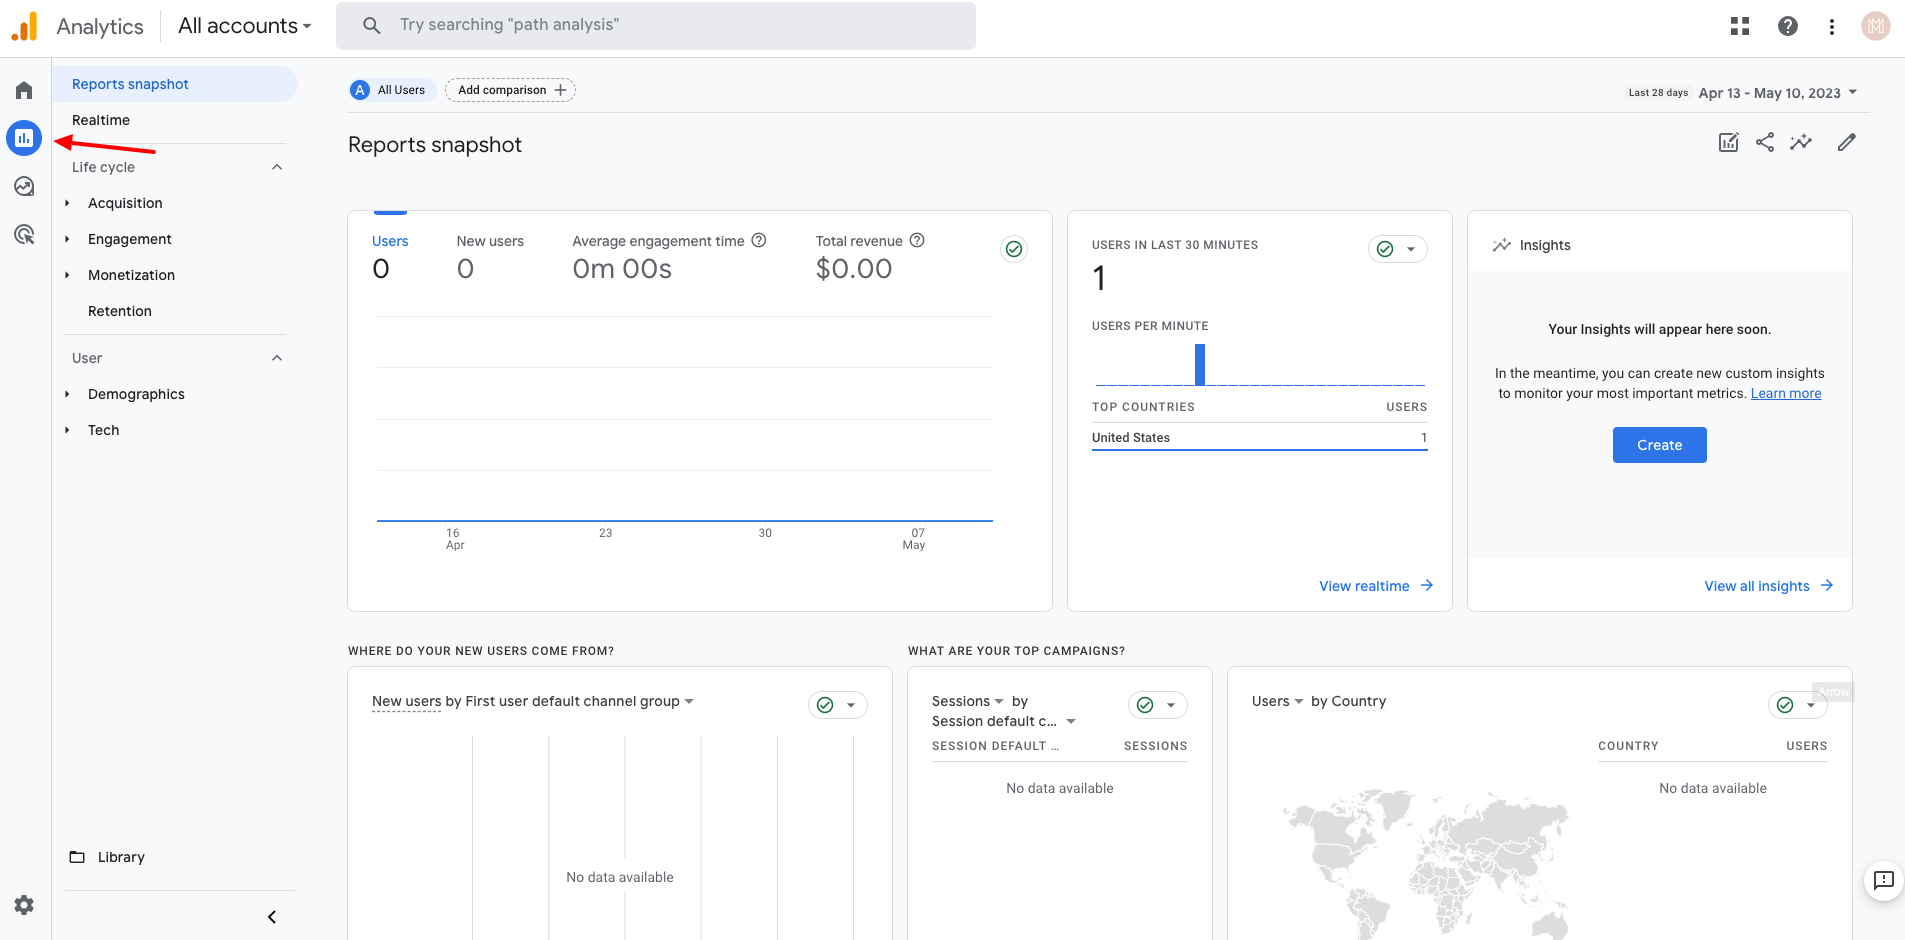
Step 6: Utilize Reporting and Analysis
GA4 offers new standard reports and customized reporting to suit your needs, including real-time data, audience insights, conversion analysis, and more.
Navigate through the different report sections and experiment with filters and dimensions to uncover meaningful insights about your website visitors and their behavior.
We highly recommend following Google Analytics 4 Property Setup Assistant instructions to begin your journey with the GA4 property. If you have any questions, don’t hesitate to contact Google Support, they are ready to assist.
Stay connected with more free nonprofit resources!
Join our mailing list to receive the latest news and updates from our team.
We hate SPAM. We will never sell your information, for any reason. Unsubscribe at any time.